4 SIMPLE STEPS TO GETTING STARTED WITH A MATERIAL HANDLING SYSTEM
We assisted several customers in implementing and optimizing our modular systems in their businesses. Building on this experience, we felt the need to create this 4-step guide to help you get started in using tube and joint system.
![]() Get inspired
Get inspired
![]() Make a plan
Make a plan
![]() Get prepared
Get prepared
![]() Order parts
Order parts
 Get inspired
DECIDE ON A SIMPLE PROJECT TO BUILD FIRST
Begin your journey by selecting a straightforward structure as your initial prototype. This approach allows you to familiarize yourself with the system’s capabilities and understand its potential applications in a practical, manageable way.
Pick a project that you can showcase, yet is easy to build, such as KPI board frames, simple handling carts, or add-ons for existing workstations.
Explore the diverse possibilities and design structures that meet your exact needs, optimizing your operations and improving overall productivity.
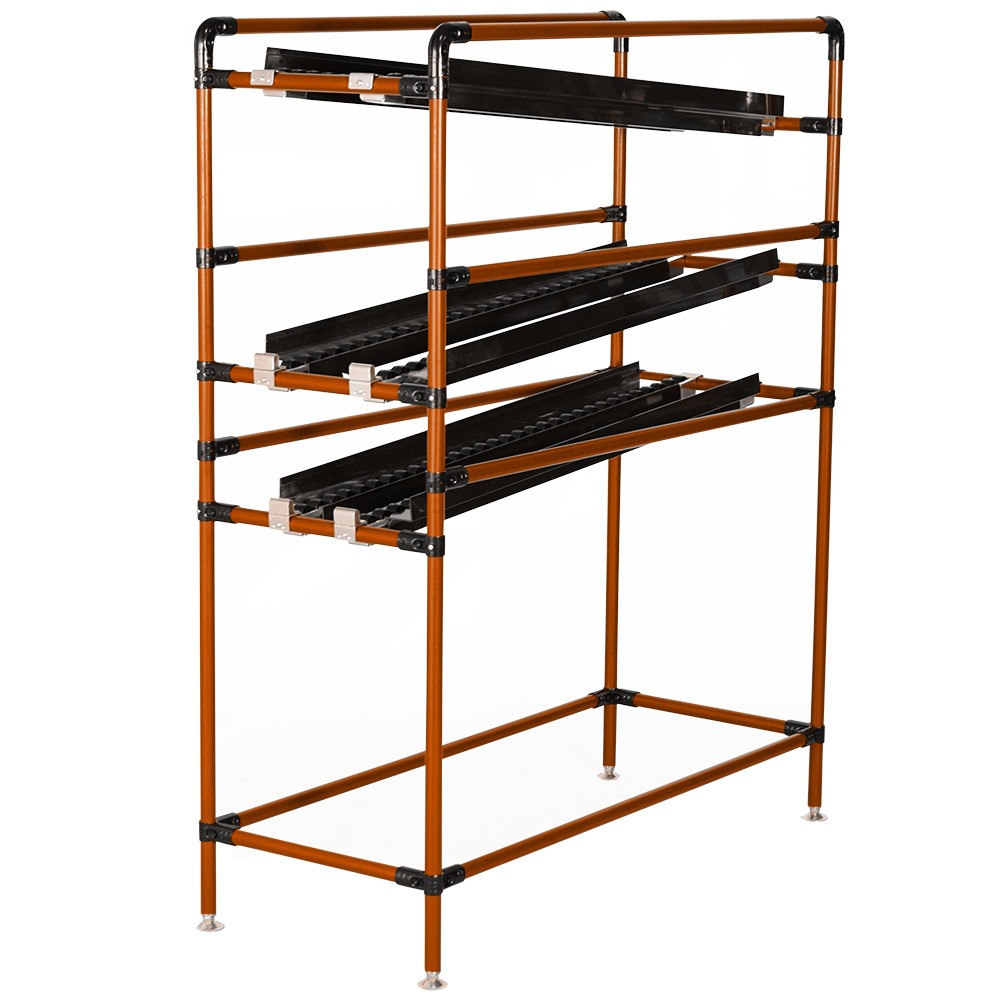
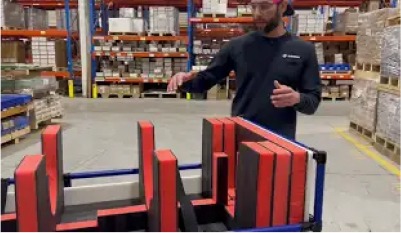
Flow racks
Designed for efficient handling and storage, flow rack systems ensure materials are readily available, reducing delays and improving overall process efficiency.
Racks
Modular racks organize materials, tools, and products, maximizing floor space and keeping items within reach to enhance workflow efficiency.
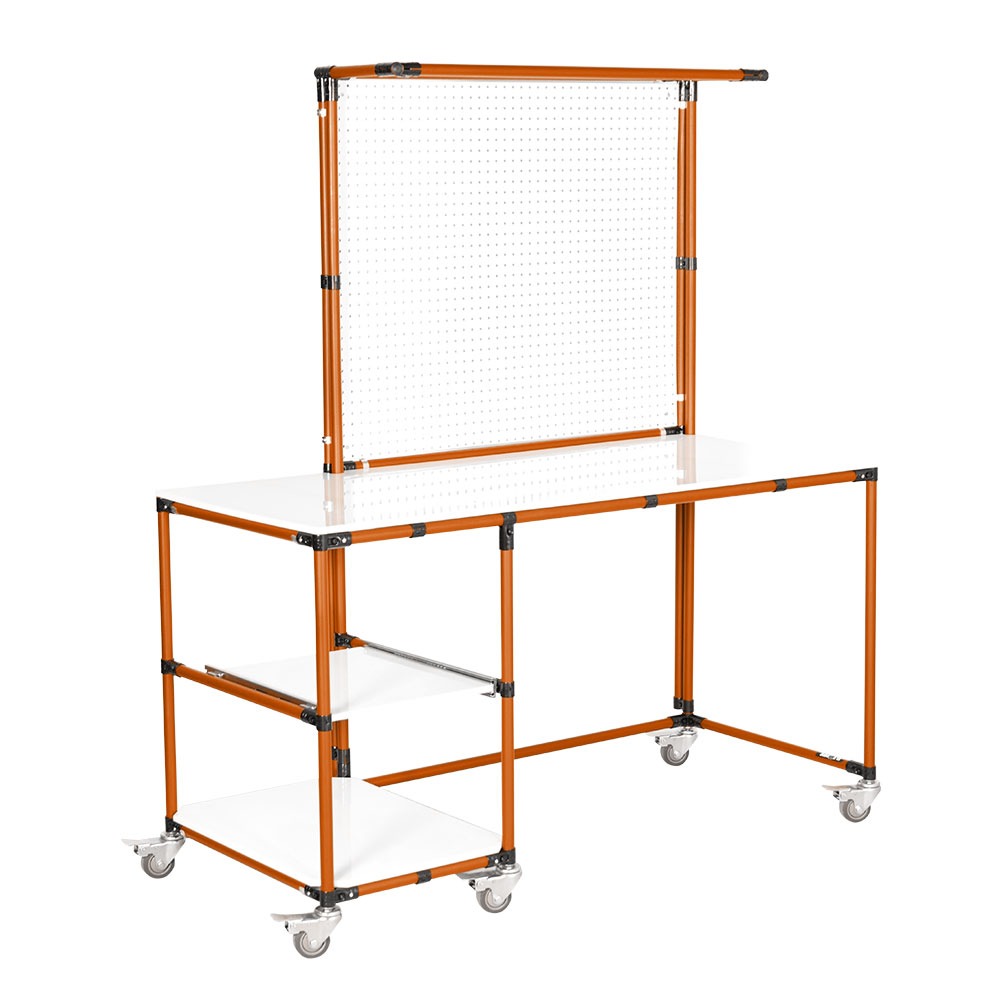
Workstations
Custom workstations improve ergonomics and efficiency by tailoring to specific tasks and user needs, ensuring a comfortable and productive workspace.
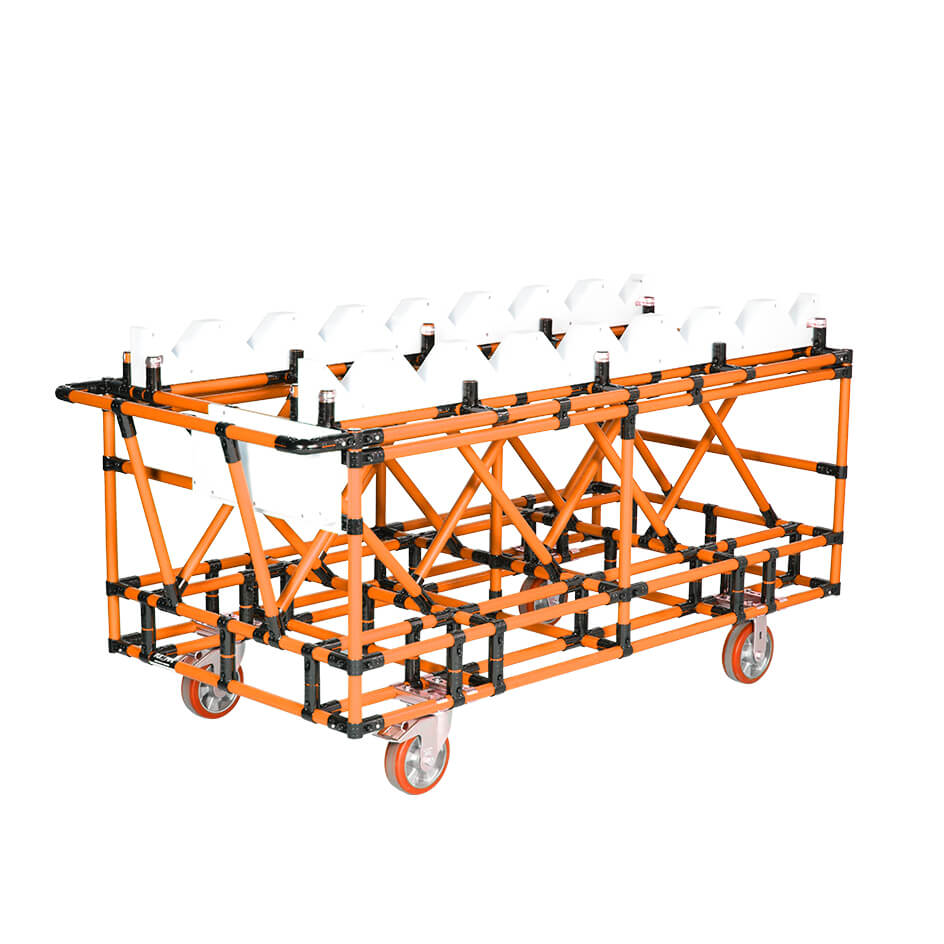
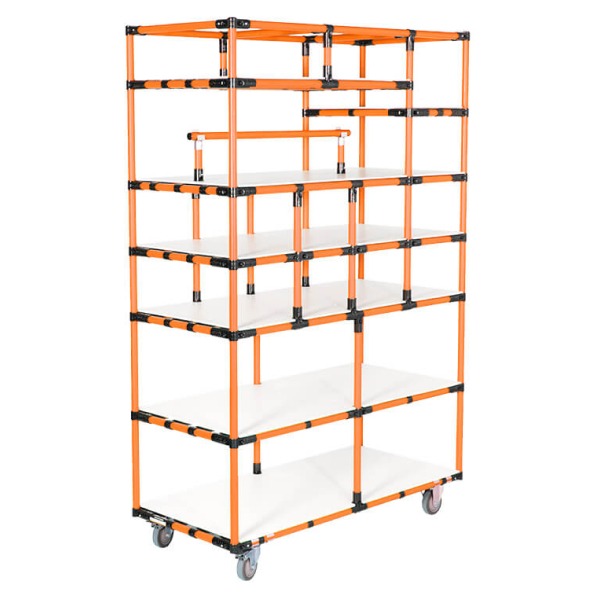
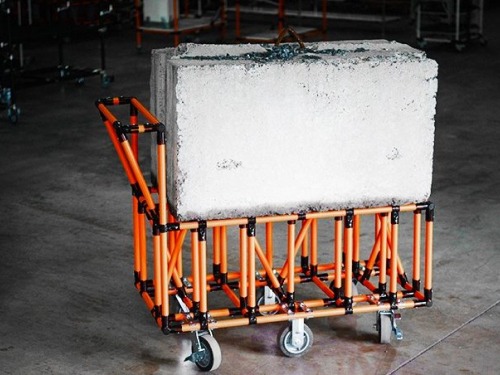
Carts
Carts are a flexible, mobile solution for transporting materials and tools across the manufacturing floor, reducing unnecessary movement and saving time to streamline operations.
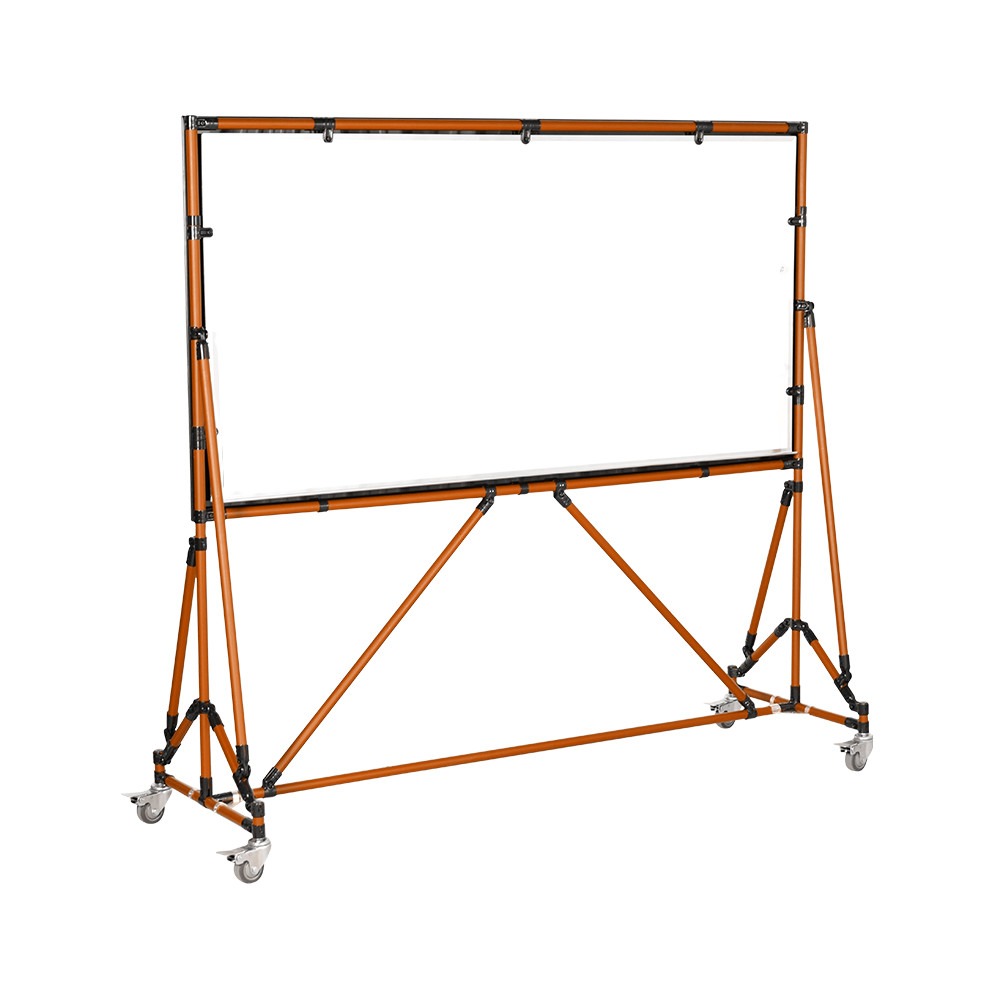
Boards
Used for information display, workflow management, or tool organization, modular boards are essential in Lean environments.
Want to optimize your factory’s handling system? Involve key employees and management!
Engaging key employees in the design process ensures their support, reducing change resistance. Involving staff in ideation fosters continuous improvement, leading to practical solutions, higher productivity, and a safer work environment.
 Make a plan
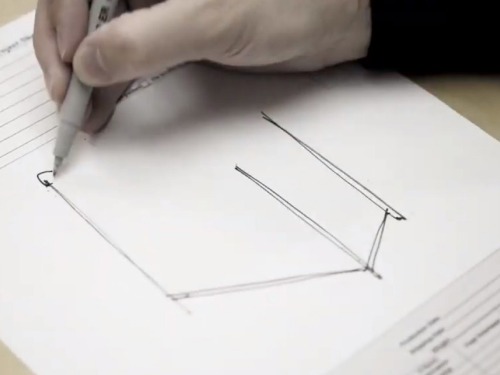
Sketch your first Structure
By now, you likely have a direction in mind. Initial sketches don’t need to be perfect; refine them later with detailed material requirements.
Training staff to use 3D CAD software isn’t always necessary. Simple, freehand sketches can be faster and more practical, especially for less complex structures.
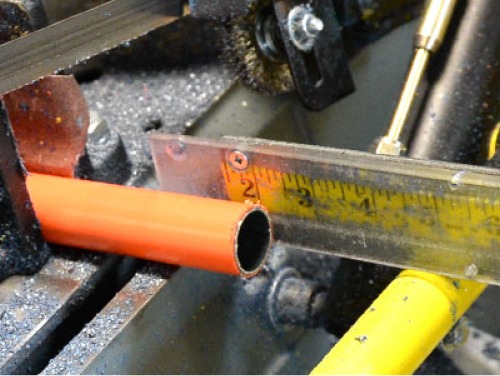
2-Inch cutting rule
Measure pipes according to the 2-inch rule. Adjust lengths by 2 or 4 inches based on connector orientation for accurate assembly.
Basic technical information
Consider technical aspects like loading capacity when designing structures. Visit our technical information section for detailed specifications to ensure safety and functionality.
Get familiar with technical data
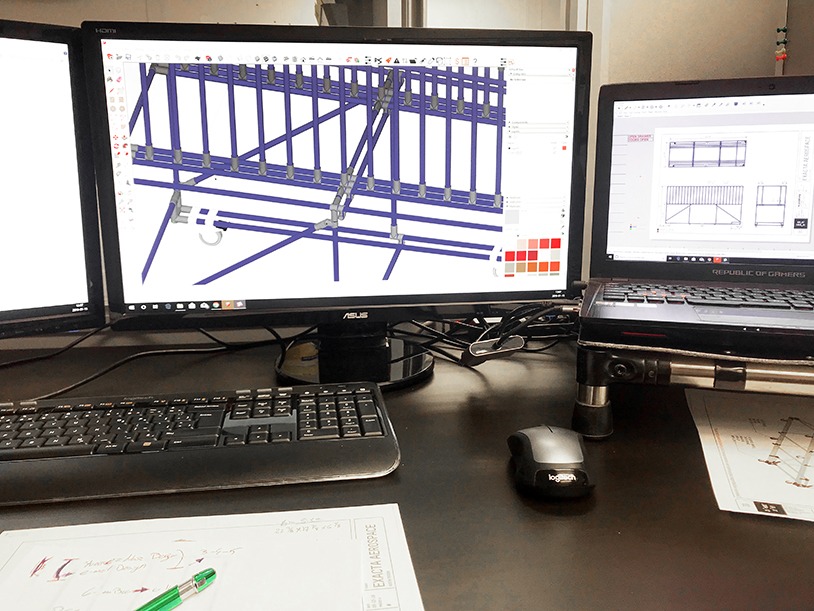
Flexpipe Creator for SketchUp
Our SketchUp extension converts wireframes into realistic models, aiding in measurements, parts and color selection. Plus it can generate cut lists for precise assembly.
List of Materials & pipes length
List all components, including pipes, joints, and accessories. Also, prepare a detailed cut list to ensure accurate material planning and reduce waste.
Need some inspirations?
Explore our comprehensive library of top plans, meticulously designed by our expert designers over the years. Browse by industry or application and download detailed plans in PDF or SketchUp formats.
 Get prepared
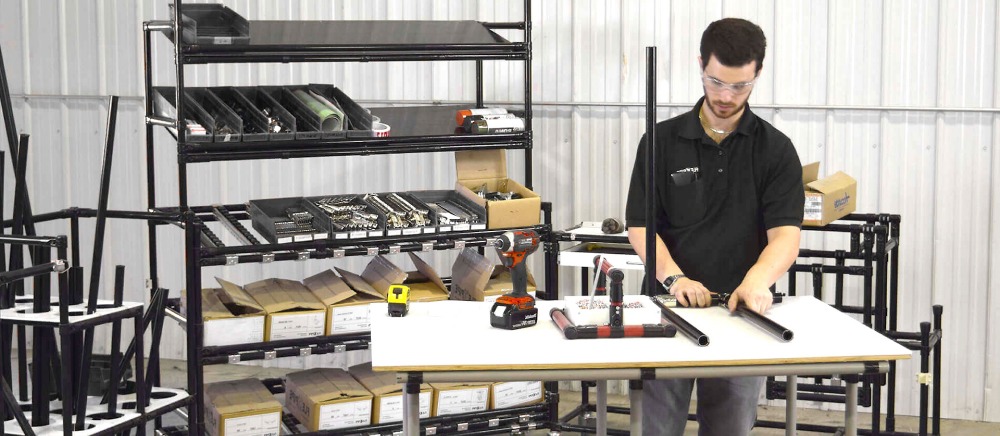
MAKE SURE YOU HAVE THE PROPER TOOLS AND SPACE
Assembling a Flexpipe structure can be an easy process and can be made even quicker if you use the appropriate tools.
If you already know that you will be assembling Flexpipe on a regular basis, you should address this right away. A good setup with dedicated space, storage, and the right tools will save you up to 30% of assembly time.
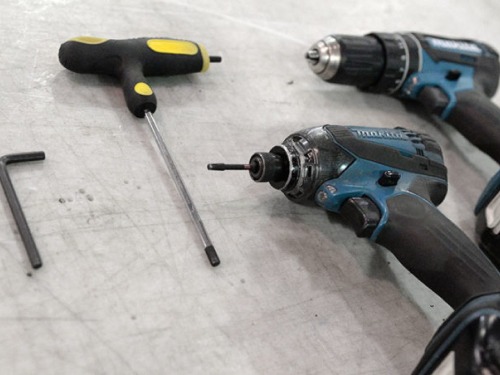
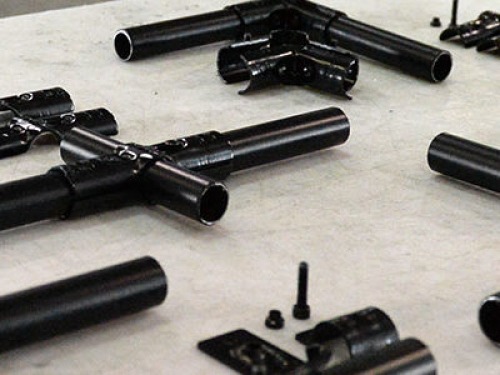
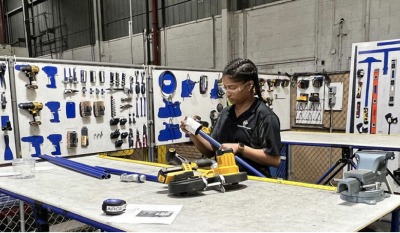
Needed Tools for Assembly
All Flexpipe joint sets are assembled with the same nuts and bolts. As such, you’ll just need a 5-mm hex head tool to carry out your project.
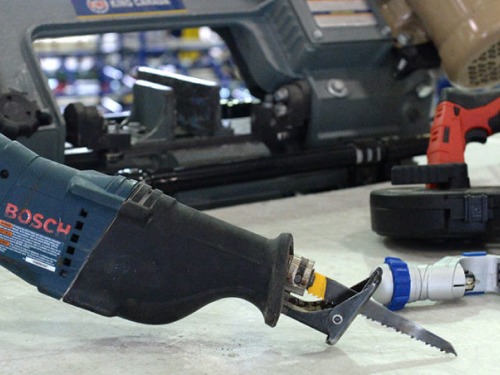
Best Cutting Tools
Recommended tools for cutting Flexpipe: Sawzall, tube cutter, portable bandsaw, metal cutting bandsaw, cold cut saw, and portable power tubing cutter.
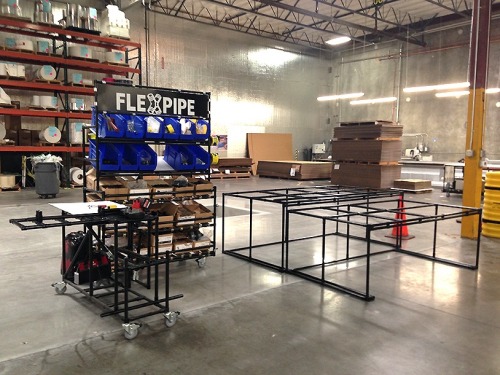
Optimal Workspace for Assembly
A clear, well-lit, organized area with adequate space for cutting, measuring, and storing tools is essential for efficient Flexpipe assembly.
Who are the most likely people to build your structures?
The success of your project largely depends on the personality of the person assembling the structure. An engaged assembler is more likely to design optimal structures for your project and improve them over time.
 Order parts
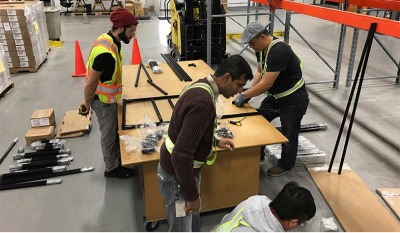
Order the parts you need for your first project
Once your sketch, dimensions, and material list are ready, it’s time to order the components required for your first structure.
Starting with a clearly defined project helps you stay focused, control costs, and avoid ordering unnecessary parts.
Your first order may include pipes, joints, fasteners, casters, roller tracks, or other accessories depending on the type of structure you want to build. If needed, our team can help you confirm compatibility and make sure your parts list fits your application.
Need help reviewing your parts list?
Our team can help you validate your selection and guide you toward the right components for your project.
Already know what you need but have questions about ordering, shipping or your account?
Our customer care team is here to help.
You can also review our shipping information to learn more about lead times, carriers, and delivery options.
If you are still comparing options or would like to better understand how Flexpipe can support your project, take a look at the reasons why manufacturers choose our modular system.
Need help building your first structure?
We offer various options to support you and your team.
VISIT OUR KNOWLEDGE BASE
This resource provides answers to the frequently asked questions, offering insights and guidance on a wide range of topics related to using the Flexpipe modular systems.
Explore our knowledge base
WATCH OUR VIDEOS
See our product in action, and follow step-by-step instructions. We have multiple videos online with step by step instructions to make your Flexpipe journey easier.
Visit our YourTube Channel
BECOME AN EXPERT
Flexpipe offers training options both at your facility and at Flexpipe locations. This flexibility allows you to choose the most convenient setting for your team’s training.
Discover training options