


How to mount surfaces
There are many types of surfaces to choose from, depending on your project you may choose a particular surface as opposed to another due to a particular characteristic which may make it the right choice for the job. Follow along to find the right approach for your next project no matter the material. The rule of thumb is to screw surfaces that are a 1/4″ or thinner from the top and surfaces that are 1/2″ or thicker can be fixed from the top or the bottom.
Estimated reading time: 10 minutes

Difficulty:
Time:  1-2h
1-2h
1-2h
-
Level your surface
Whether you’re using a 1/2″ plastic HDPE surface, a 3/4″ plywood top or a 1/8″ acrylic panel as a divider, use the levelling shim AO-SHIM accessory to level any surface. You can always add or remove the shims as need be. The important part here is to have enough to prevent the surface from bouncing and or vibrating when in use, space out the shims to be every 8″, 12″, 24″ depending on the size of your surface.
-
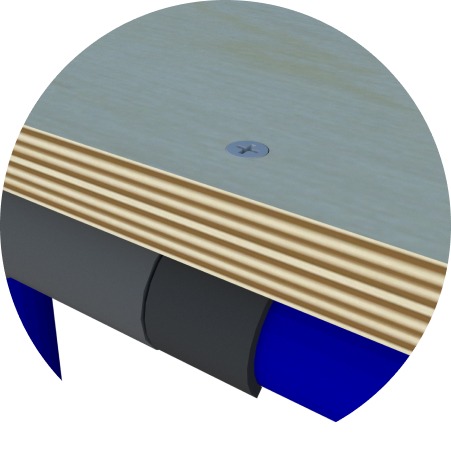
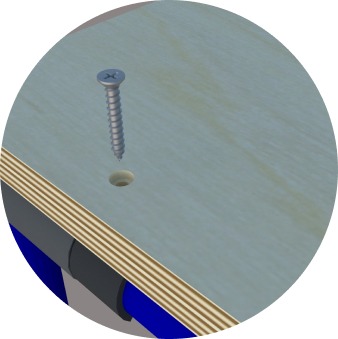
Flush finish
If you want a flush finish where you will screw from the top you will need to pierce through the surfaces, the shims, and pipes with a drill bit then fix the flat-head screw F-SF81 flush to the surface.
-
Surface Thickness
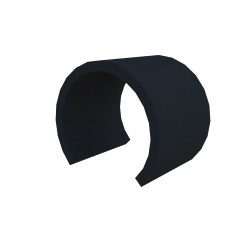
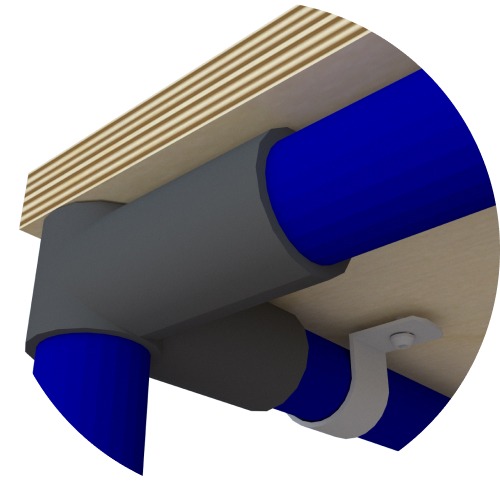
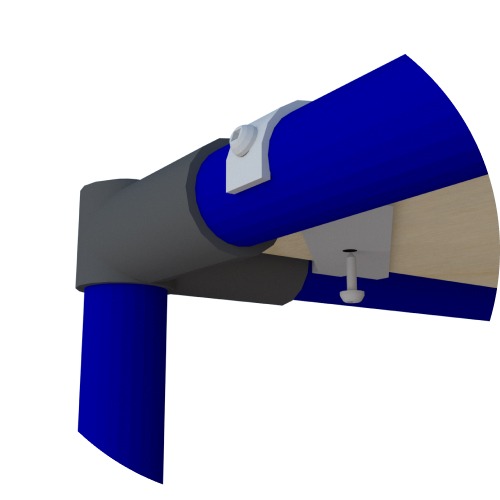
The thickness of the surface will determine if you have the option of fixing it from the underside using a single pipe clamp AO-EMT1 with a wood screw or from the top.
In order to use this accessory, the thickness of the surface should be at least 1/2″ thick for the square-head screw F-S812 to be fixed properly.
-
Alternative Methods
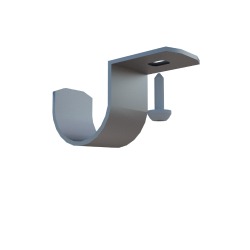
You can use the AI-CORNER corner bracket to embed surfaces or panels into your structures. If you use it for surfaces, ensure you have the correct thickness for fixing from the underside.
For this method combine the corner bracket with a metal anchor AI-CENTER to add supports across the span of your structure. This addition will improve the supporting capacity of the surface.
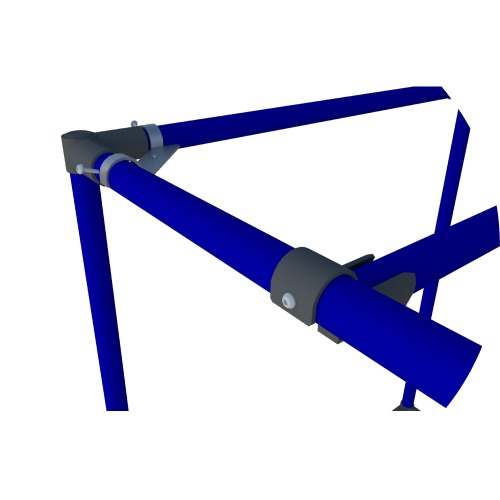
If fixing it to panels, dry-erase boards, or presentation boards you can fix the corner bracket using a nut and bolt. Simply pierce the area where the bolt will pass through on the surface, and don’t forget to secure the AI-CORNER to the structure using self-tap F-A858 metal screws.