Technical Data
HOW QUALITY CONTROL IS CONDUCTED ON STAMPING PRODUCTION
Technical Data
WHICH FLEXPIPE COATING HAVE THE BEST UV RESISTANCE?
Technical Data
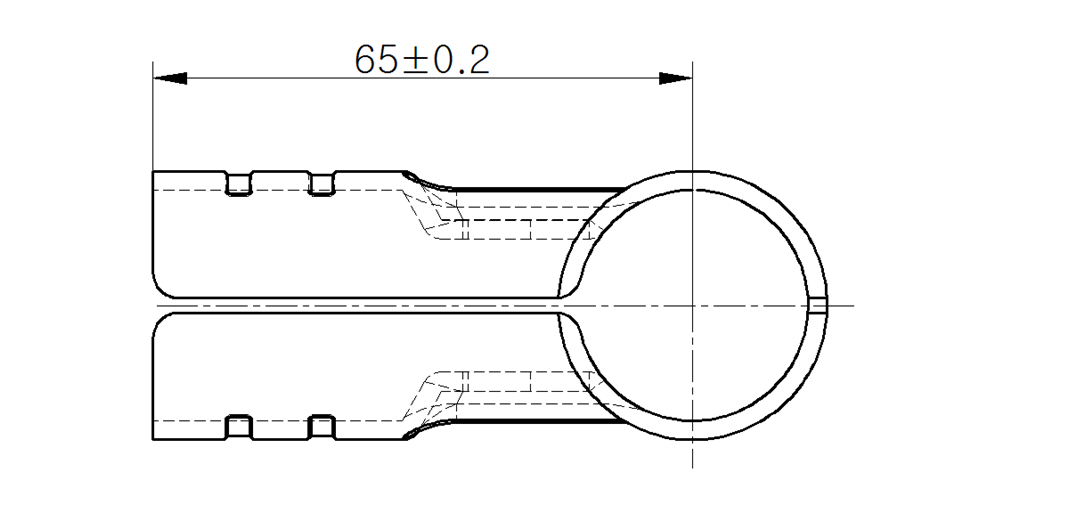
WHAT IS THE TOLERANCE OF FLEXPIPE TUBES AND JOINTS?There are five main steps to the cathodic electrocoating process (E-Coating). However, for this post, we have broken these steps into smaller ones to give you more information.
The electrocoating process (E-Coating) is best described as a cross between plating and painting. It is a process where a metal part is immersed in a water-based solution containing emulsion with 10% to 20% paint, epoxy, or other components and 80% to 90% water. An electric voltage is applied to attract the particles suspended in the deionized liquid solution and deposit them onto the surface of the substrate.
The electrode positioning continues until the desired level of coating thickness is achieved, which can be regulated by increasing or decreasing the voltage level. The coated substrate is then cured in an oven to promote crosslinking.
If this process seems familiar to you, it’s maybe because you know it under another name, such as electrocoating, electropainting, electrophoretic, E-Coat Painting, ED Paint, or EPD coating.
There are five main steps to the cathodic electrocoating process. However, for this post, we have broken the following steps into smaller ones to give you more information. Here, then, are the five main stages and all the sub-steps involved in the process.
Loading metal joint
Each metal joint is manually hung to an overhead conveyor.
Hot water washing
Initial washing to prepare the part for degreasing.
Degreasing
Three stages of degreasing – pre-degreasing, main degreasing, and triple washing to remove dirt and oil.
Phosphating
Zinc phosphate is sprayed on the part as a base coating to prepare the surface for
e-coating.
Pure washing
Two stages of washing: water rinse and demineralized water rinse.
A cathodic voltage of 210-220 V is applied to the part, causing the paint emulsion to condense onto the piece. Note that the thickness of paint put on the joints is 15um (+/- 5um).
Rinsing
As the part exits the bath, paint solids cling to the surface and must be rinsed off to maintain efficiency and aesthetics.
UF pure washing
Pure wash from color filtering devices with ultrafilter (UF) membranes.
Baking
Parts enter an oven for 20 minutes at 350˚F to crosslink the polymers, allowing the coating to flow out and become smooth and continuous.
Cooldown
Before unloading parts, cold air is sprayed to cool down parts hanging on the overhead conveyor.
Unloading metal joint
While unloading from the conveyor, each joint is visually inspected before packing.
Although it is almost impossible to change the color of a part after an E-Coating process, this method has multiple visual and technical quality advantages such as: