


When it comes to setting up the process to assemble pipe and joint projects, there are certain principles you’ll want to keep in mind. We’ve drawn up the following list of 10 steps to follow, so the construction of your structure goes as smoothly as possible. Read on for the details!
Before setting up a process to assemble a lean pipe structure, we suggest your pipe builders receive basic training on how to use the Flexpipe product. Also, make sure to have a suitable environment equipped with sufficient space and tables, a minimum of raw material, and all necessary tools so your team can carry out the work efficiently.
Our customers build lean pipe structures using different processes which differ depending on the company size, history with Flexpipe products, etc. In some companies, the designated builders change every week, which means that their processes will be different from companies who always use the same builders.
The first step consists of coming up with seven different ways to solve the problem at hand. To get you started, read the article Our 7-Ways Idea Template to Avoid Tunnel Vision. Then, download the Excel the 7-Ways Idea template.
Remember to use your wits, instead of reaching for your wallet – and try to think outside the box! Often, a bit of innovative thinking can go a long way and doesn’t require additional investments.
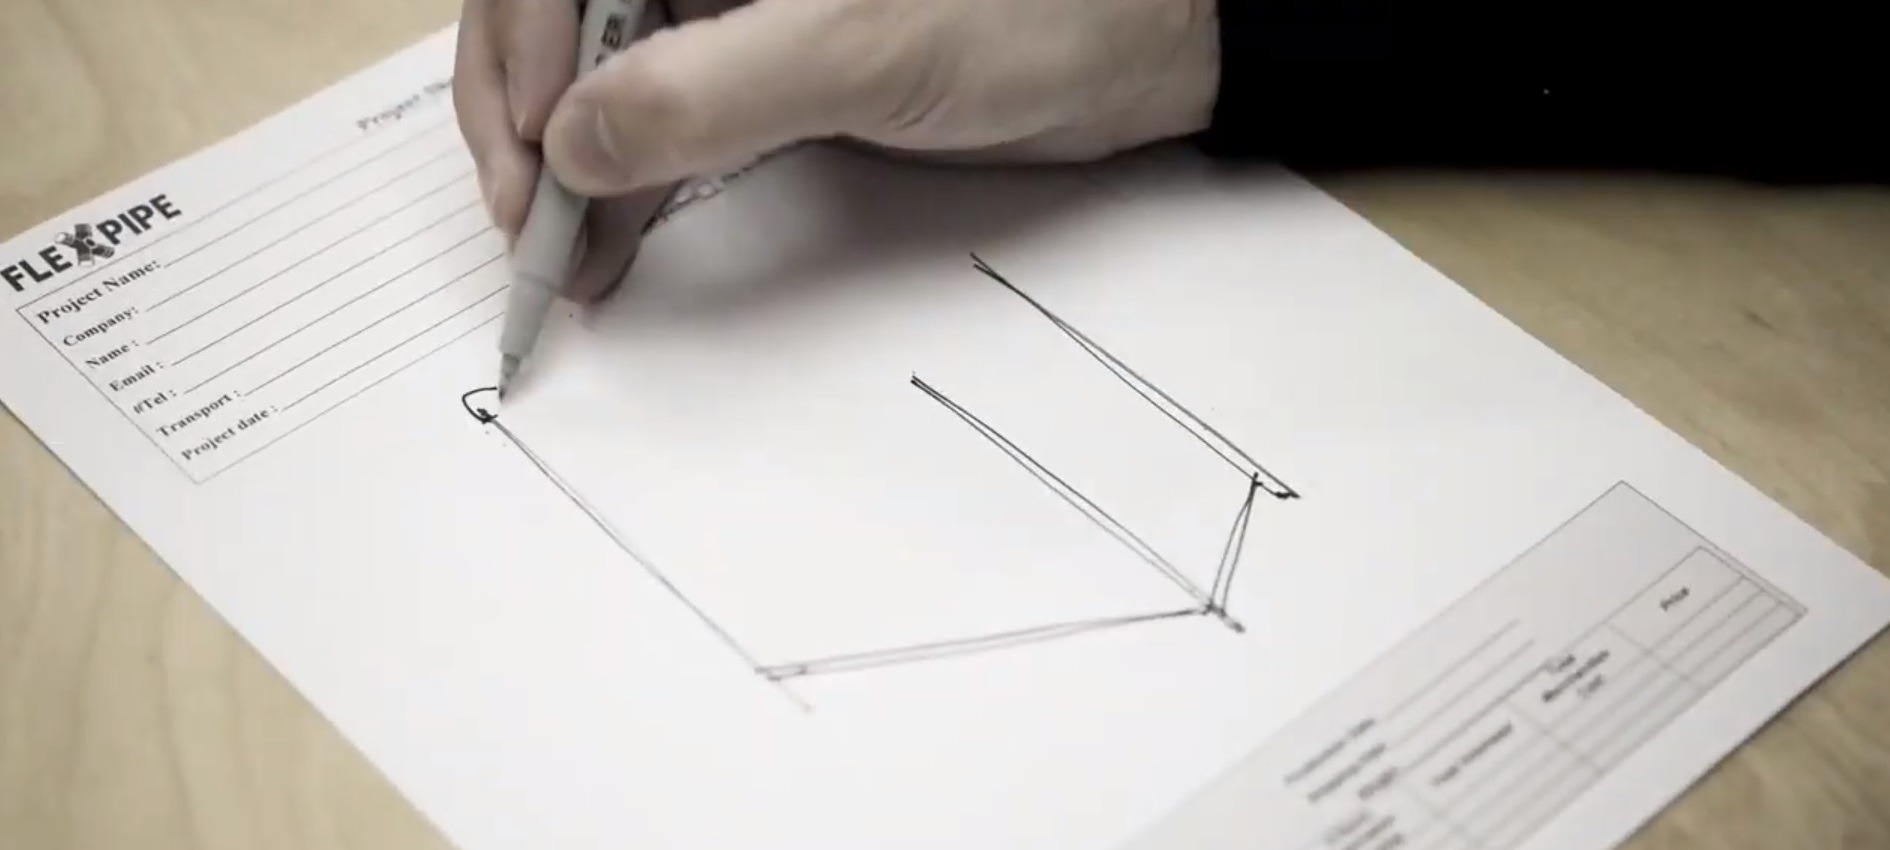
Usually, at this point, you’ll have a pretty good idea in which direction to head in, but, if not, don’t waste any more time on brainstorming and start “try storming.” No more excuses: get things started and test the prototype! After, you can draw another sketch in greater detail, which includes what material you will need.
Download your printable project sheets here.
Allow us for a moment to use a cooking analogy. As you know, pretty much every meal has a recipe. Try to cook a meal you’ve never prepared before without the recipe, and you’ll most likely fail. The same goes for your project. Without a material list, odds are you’re not going to get anywhere. Have a proper bill of material on an Excel sheet or at least on a list that you’ve jotted down by hand.
Unless you keep an inventory of parts at all times (a practice you should avoid, in keeping with the Lean philosophy), you will more than likely need to order some components — but try to use what you have on hand as any good moonshiner would!
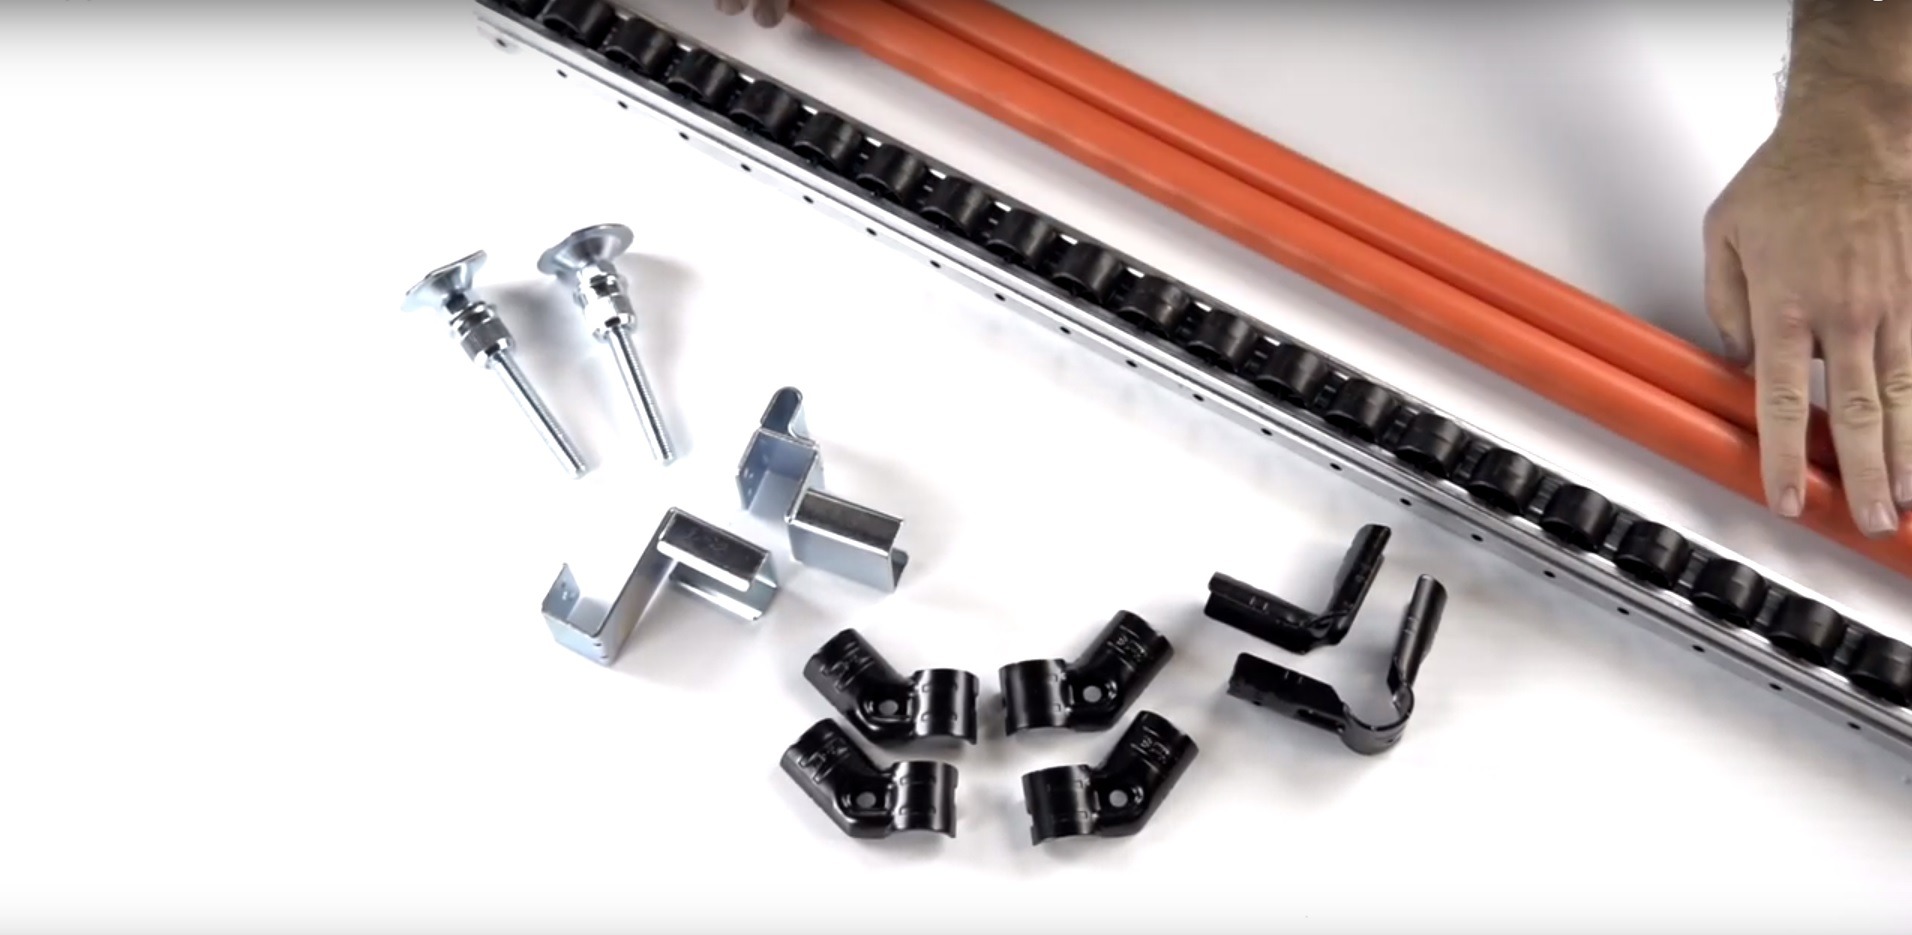
Have you ever noticed the one thing that all cooking shows have in common? The reason most chefs can complete a recipe within 30 minutes is not just thanks to the magic of video editing. Instead, the answer lies in the fact that they have all the recipe’s ingredients in front of them ready to be used. So coming back to the assembly project, when you have all the materials available, you will drastically speed up the assembly process.
This is where your 5S floor marking skills will come in handy. If you’re not familiar with floor marking principles, learn more on the 60 seconds visual workflow blog article. There are also plenty of great resources in online forums such as lean.org.
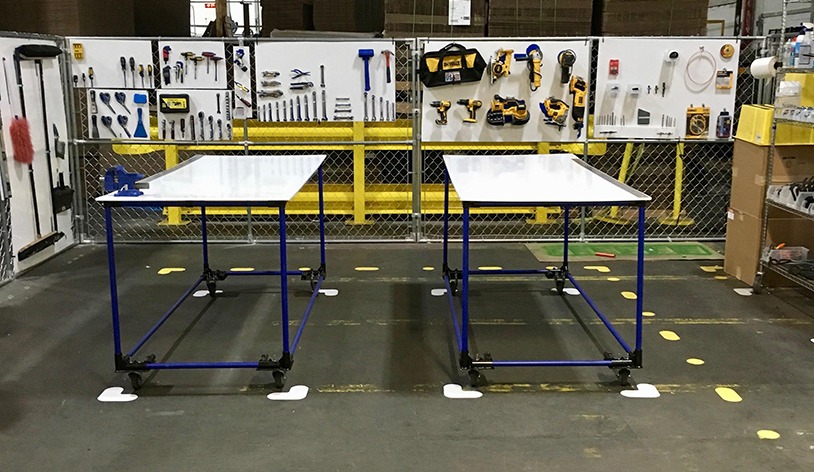
This principle is called a one-piece flow, and it is responsible for a drastic change in many manufacturing industries. According to this rule, building one product at a time from start to finish is more efficient than doing just one operation to many units before carrying out the next step. This will ultimately save you from making the same error on every unit.
Document everything. This is a no-brainer. Well, many people – including us – often forget or underestimate the importance of documenting. This will become critical when the time comes to scale the project. Document how many components you use and feel free to record any individual building processes with which you might have had a problem.
This wouldn’t be a lean method without including notions of continuous improvement. This step is all about optimizing your project before scaling it. Unlike step 7, the purpose of this step is to test the prototype and refine its design to make it more efficient in all aspects. Once you’ve reworked your prototype, build a second structure.
There are many ways to calculate your ROI (“return on investment”). These will vary depending on the nature of the project and the KPIs (“key performance indicators”) you choose.
Most of our customers use the Moonshine Shop to improve takt time or to decrease injury risks and floor space. These metrics are usually easy to calculate. However, they are just examples of the standard indicators we see in our industry. This method is versatile, and the results can be surprising.
To conclude, if you apply these steps correctly, you should quickly see the benefits generated from this process every time. No one likes to waste time, and, as we all know, time is money. We want to make sure that your time – and budget – are well spent!
Along those lines, we encourage you to consider using a Flexpipe crib, which is a storage structure for Flexpipe parts. You’ll be surprised by the extent of its potential and see just how useful it is in your work environment.