


As a manufacturer, one of your main advantages is to eliminate wastes, in other words, actions that are unnecessary and provide no added value. Shadow boards are an excellent means of implementing continuous improvement principles because their purpose is to eliminate the 8 manufacturing wastes. This article will give you tips on how to sort your tools and create order so you can efficiently carry out daily tasks, regardless of the nature of your work.
A shadow board is a visual tool used in Lean and 5S workplaces to organize tools efficiently. Each item has an outlined space, making it easy to see what’s missing. By promoting order and visibility, shadow boards reduce downtime, prevent tool loss, and increase workplace safety.
It’s in the second S: SET IN ORDER or “Seiton” in Japanese, that the shadow boards come in. The exact meaning of this term is to lay out all objects and put each one in its place. Establishing a designated location for every tool or piece of equipment will help you find what you need when you need it.
Shadow boards are essential for implementing 5S methodology — Sort, Set in Order, Shine, Standardize, Sustain.
They ensure tools are visible, available, and returned to the correct place after use. This improves efficiency, safety, and team accountability.
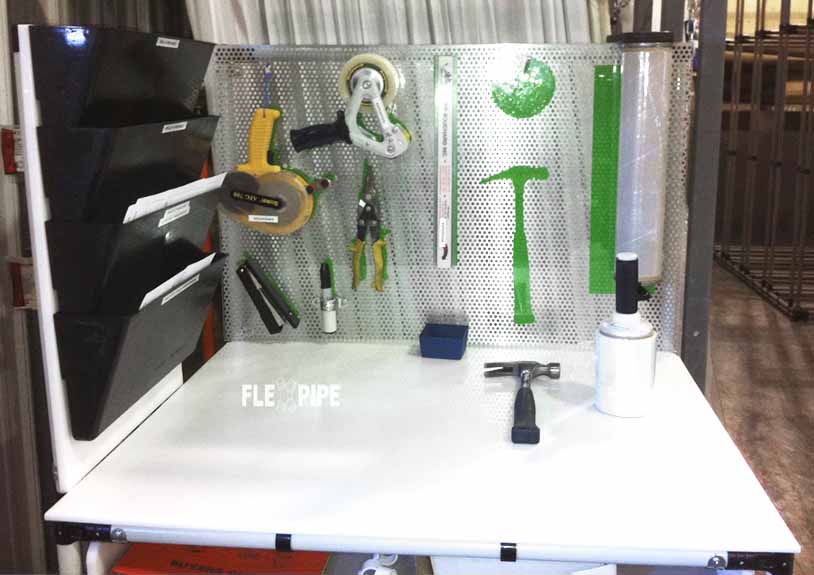
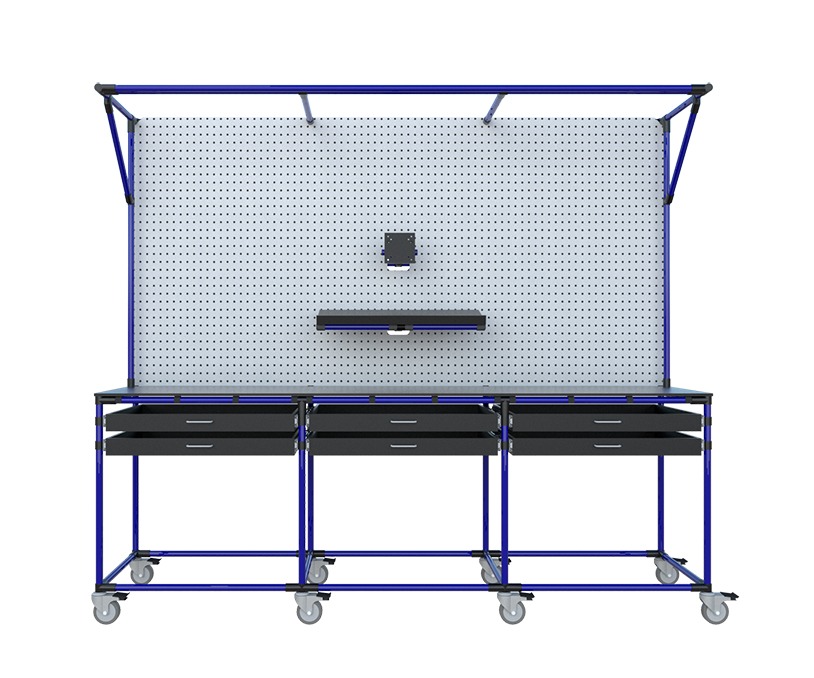
Take by exemple this cleaning station where every elements has its place and you can visually know what is missing.

You can increase efficiency by significantly reducing wastes that provide no added value, such as time lost looking for a screwdriver a broom or a pair of scissors.
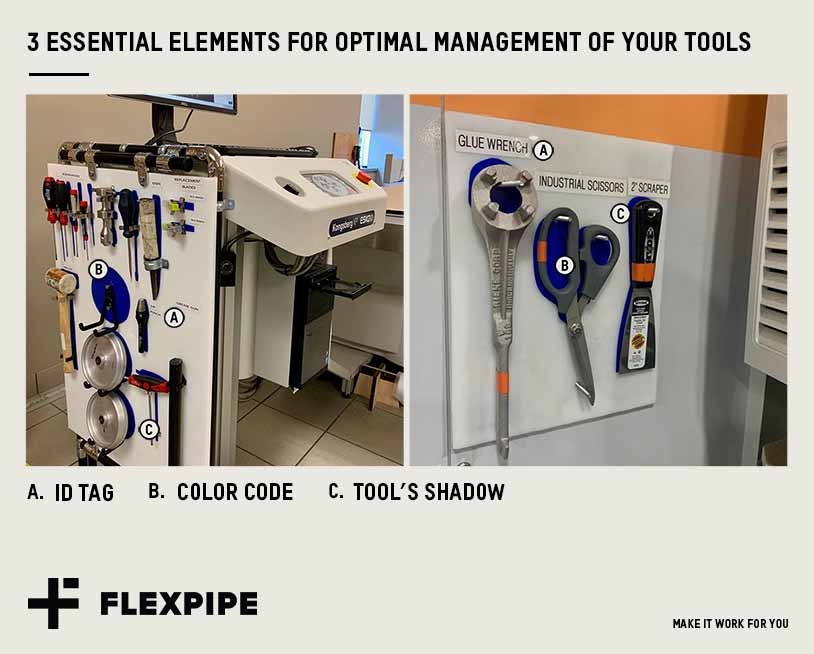
Good to know – For optimal visual management of your tools and parts, here are the 3 essential elements of a shadow board:
While both shadow boards and pegboards organize tools, shadow boards go a step further by providing visual standardization—each tool has a clearly marked outline, making it easy to identify when something is missing. Unlike pegboards, which rely on memory and habit, shadow boards reinforce 5S principles of Sort and Set in Order, reduce search time, and support Lean workplace audits. They’re the professional standard for industrial safety, consistency, and visual management.
In competitive industries like manufacturing, aerospace, logistics, and maintenance, efficiency is the key differentiator. A shadow board directly contributes to competitiveness by improving operational performance across multiple Lean metrics — from productivity to safety and cost reduction.
Every second spent searching for a missing wrench, drill, or tool is a hidden cost.
Shadow boards eliminate that waste by ensuring every tool has a designated location outlined visually. Workers instantly know what’s missing and where it belongs.
Competitiveness in manufacturing often depends on process repeatability and error-free execution.
Shadow boards promote visual standardization, one of the key pillars of the 5S methodology (Sort, Set in Order, Shine, Standardize, Sustain).
When every workstation follows the same visual layout:
This standardization supports ISO 9001 compliance, Lean certifications, and continuous improvement (Kaizen) — all factors valued by high-performing organizations.
Disorganization can create unsafe environments — tripping hazards, misplaced sharp tools, or missing emergency equipment.
By maintaining visual control, shadow boards make hazards obvious and reduce the likelihood of accidents.
Insight: Facilities with structured visual management systems, including shadow boards, report up to 25% fewer safety incidents.
Improved safety means fewer disruptions, lower insurance premiums, and higher employee morale — competitive advantages that compound over time.
This section of the article will provide you with tips as well as steps involved in building the type of shadow board that will be most effective and profitable for your business needs.
How to build a basic Shadow Board
Average Time: 2 hours
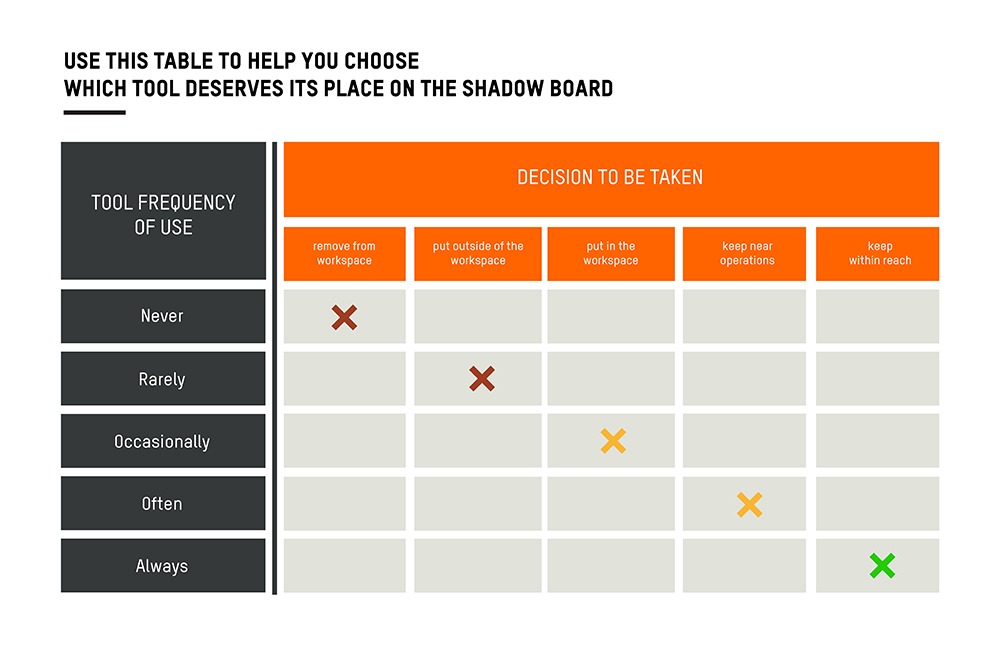
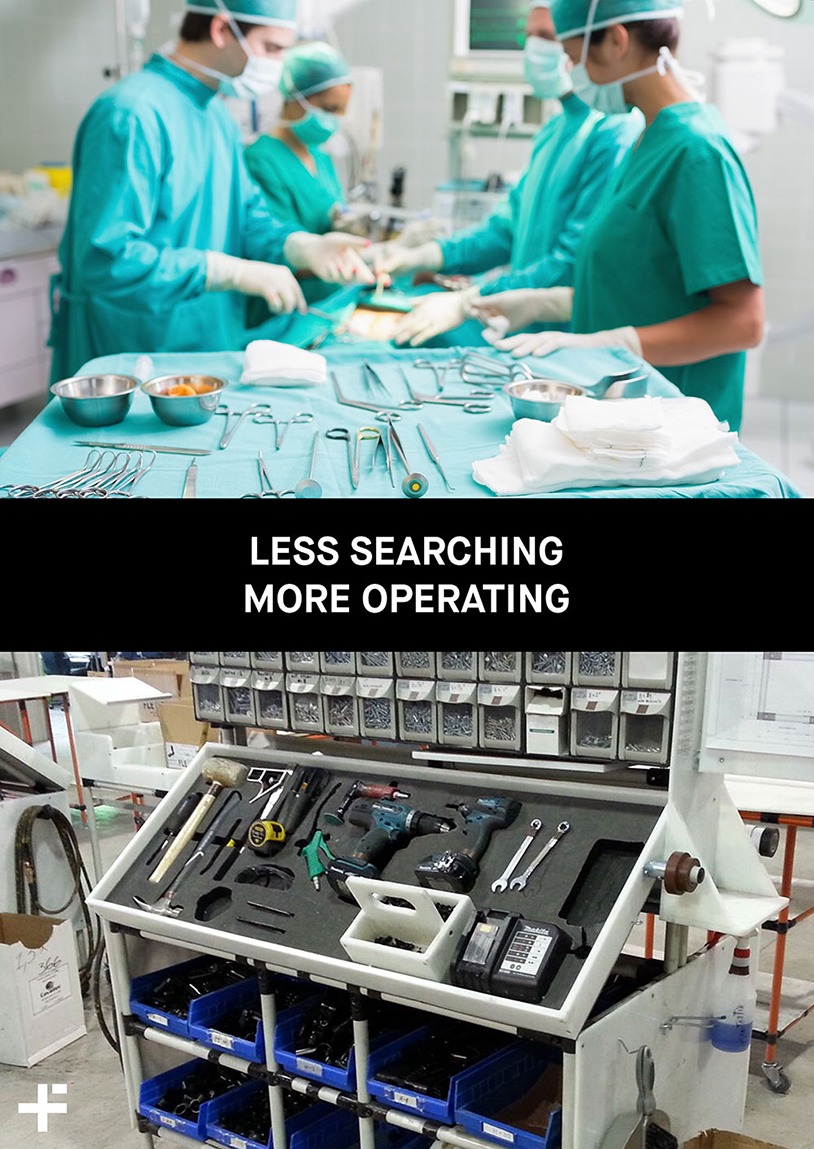
First, gather all your tools to decide which ones will go on the shadow board. To help you choose those needed to carry out your tasks, think of the setting in a hospital’s operating room. A surgeon should never have more than what is required to operate on the patient nor have to hunt around for a specific scalpel!
Tip : If you have trouble figuring out what you use in a typical workday, put in a box all the tools and parts that you utilize as the day progresses. As such, you’ll have a better idea of what’s essential in your workstation.
To avoid unnecessary steps, you should always position your tools as close as possible in your workstation. Normally, these would correspond to those which you use within the hour or during the workday. In an office setting, the same principle applies: Items that are regularly utilized should be placed on the desk.
Once you’ve decided on the tools that should be within reach, now it’s time to choose the material. The number of items and the shadow board‘s location is two determining factors at this step in the process.
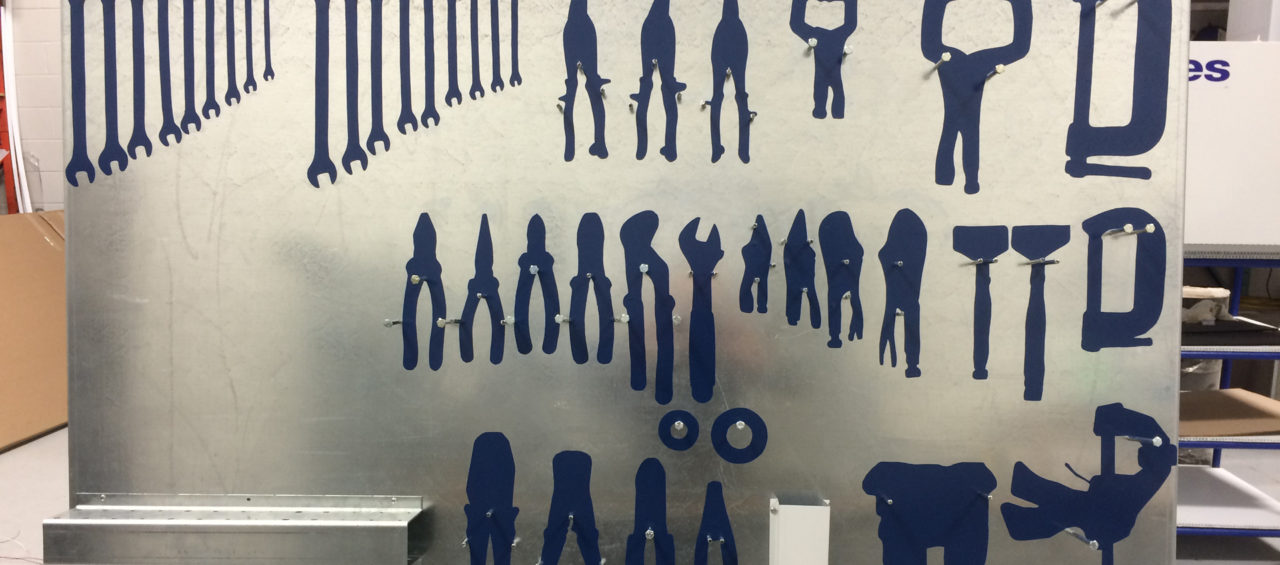
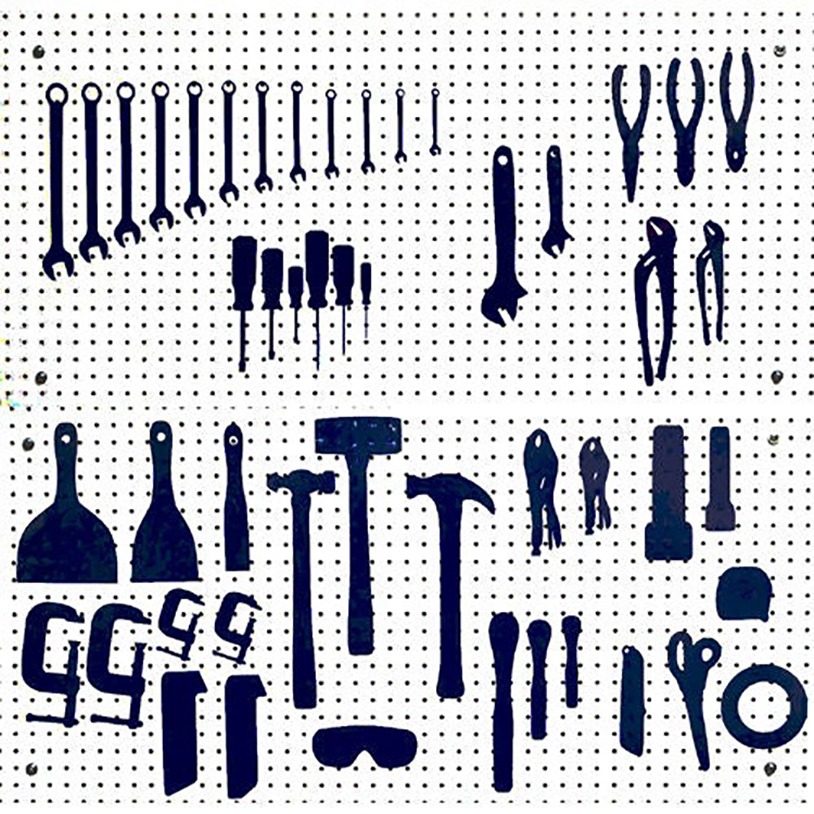
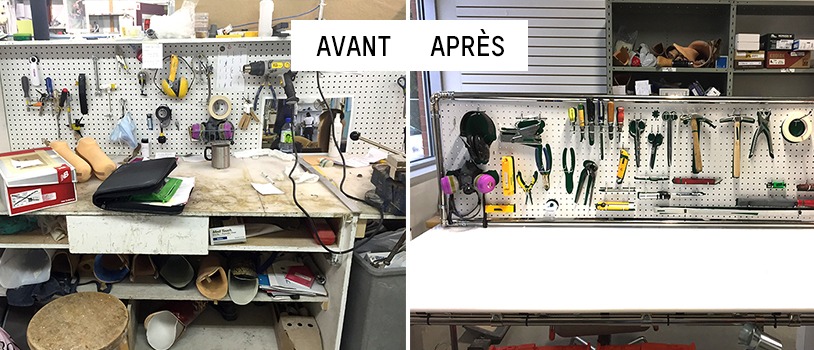
Here are some examples of our customer’s shadow boards as a source of inspiration. Some chose to use materials they already had on hand, while others opted for laser cut-outs in foam panels.
High density polyethylene is a 1/4 inch thick white plastic surface. This type of material is rigid, the high density of this product makes it shatterproof and ultra durable. This surface is easily cut with a decent saw. For more information, refer to product D-PEGW-4814 on the online store.
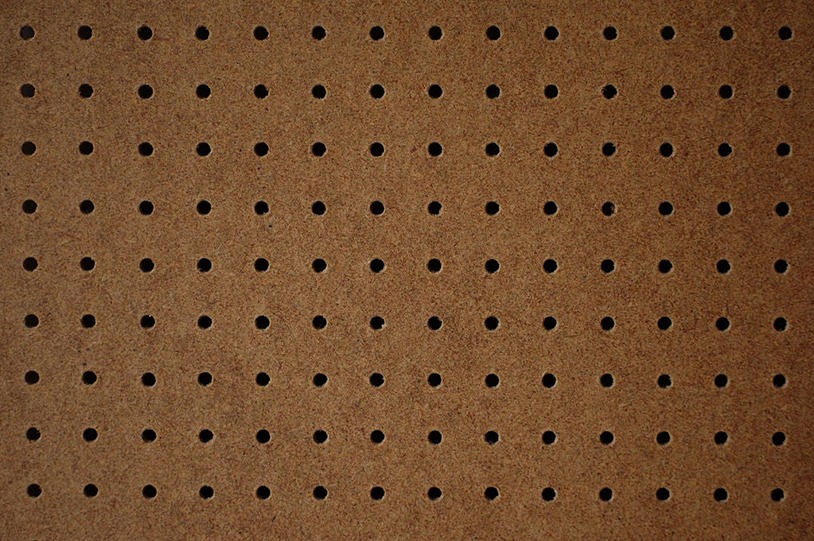
Masonite pegboards are the most common on the market. They can generally be found in hardware stores or home improvement big-box stores. The panels are available at low cost and have either 1/8-inch holes or 1/4-inch holes for more robust use.
Masonite panels are not intended to hold heavy tools, such as drills. Doing so would cause the panel to warp and eventually rip. Also, with time, the holes in the panels can sustain damage from frequent hook changes.
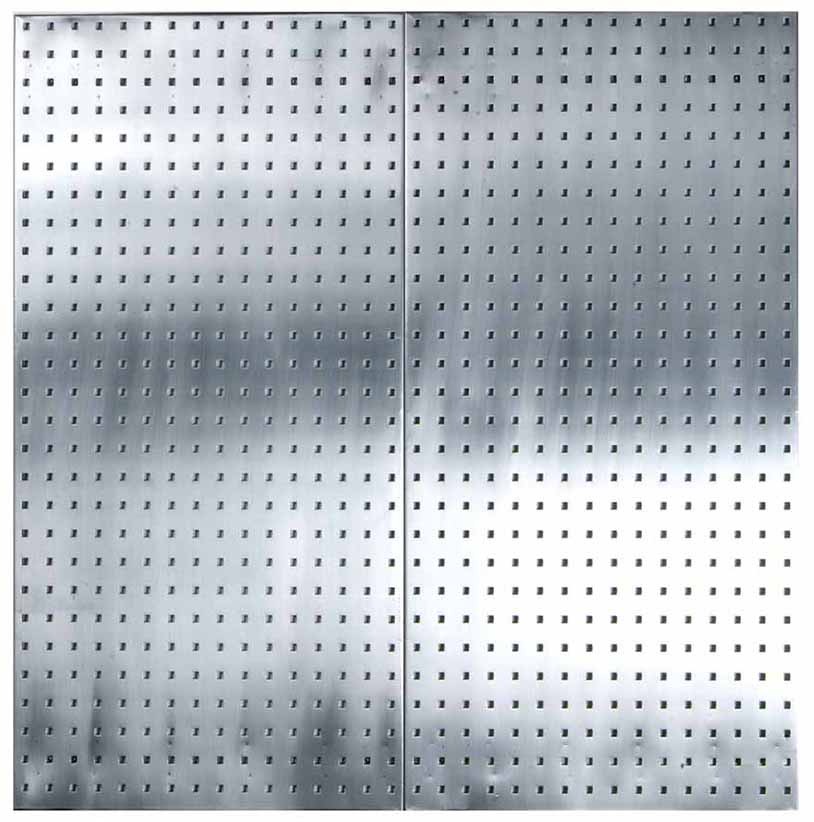
Long-lasting, metal is easy to clean and is one of the most solid materials on the market. It also gives the pegboard a stylish look. It’s worth keeping in mind that metal boards are the most expensive option and their weight makes them difficult to buy in larger sizes.
Additionally, if the air is humid, be sure to use stainless steel to avoid rust issues. Finally, remember that metal conducts electricity, so take precautionary measures to provide your employees with a safe work environment.
Plastic or polymer acrylic pegboards offer unparalleled versatility and reliability. They are much lighter than their Masonite and metal counterparts.
Their durability is unbeatable, given that they are rustproof, will not crack or warp. This type of board can withstand heavy loads.
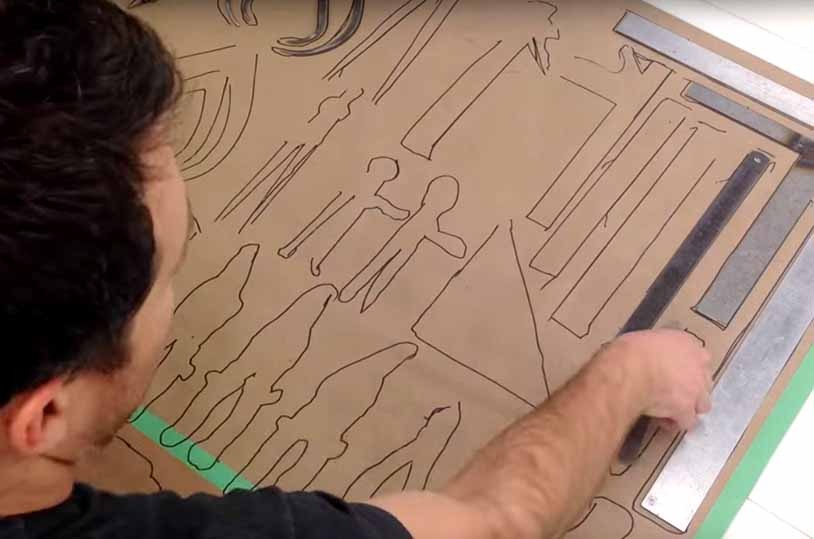
To begin, set your tools on the panel to use up space in the most optimal way. This task may be painstaking as you’ll have to try a few configurations before finding the ideal one.
Be sure to properly align all tools. We recommend grouping them by families: adjustable wrenches, hammers, screwdrivers, drill bits, etc. After, draw the tools’ outlines at their designated location on the panel.
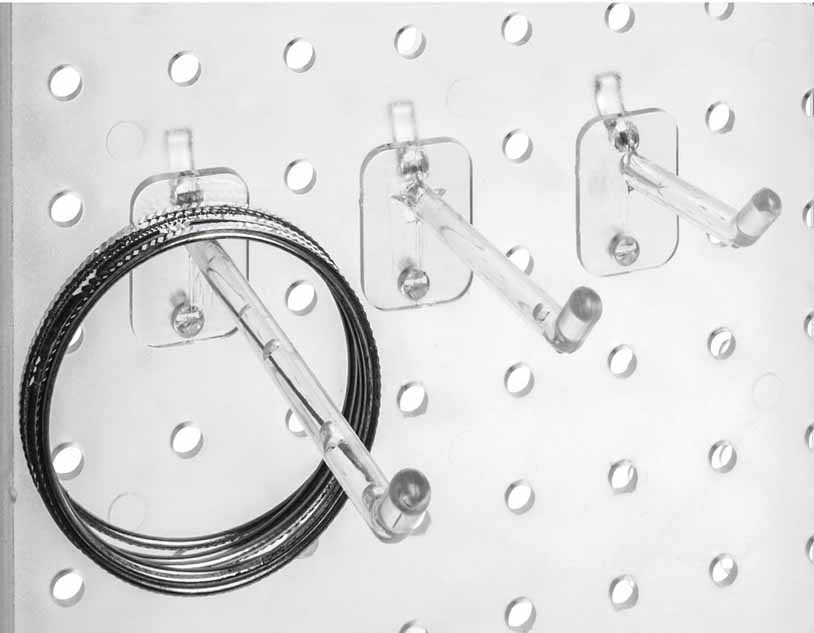
To conclude, all that’s left to do is to place the hooks and hang your tools. Take a picture of the final product and show your project to the rest of the team so everyone can use this work method!
Estimated Cost: 500 USD
Supply:
Tools:
Materials: – HDPE panel or Pegboard – Kaizen foam if needed – Flexipe pipes and joints if builing a structure
The Results
Each type of material has its advantages and drawbacks; evaluate them all to find the best for your needs.
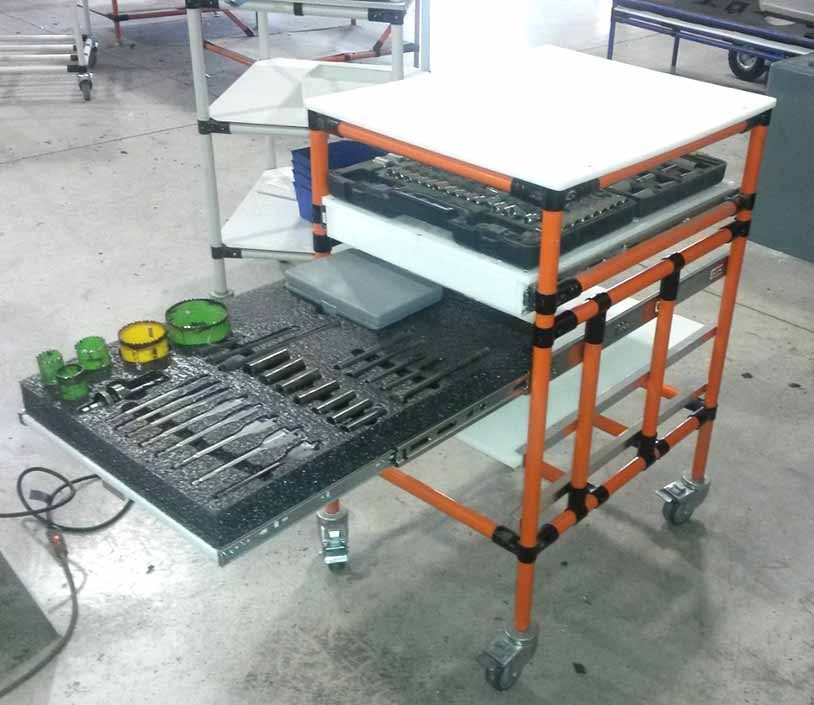
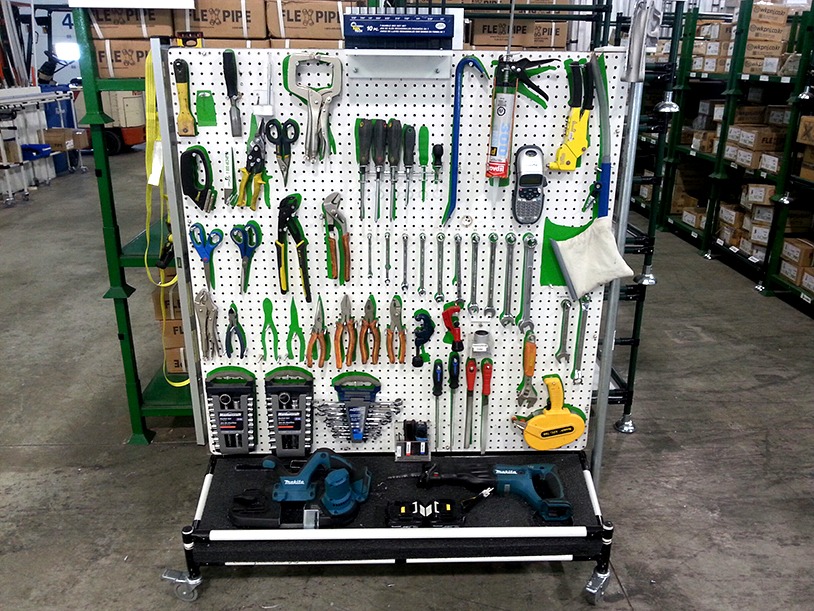
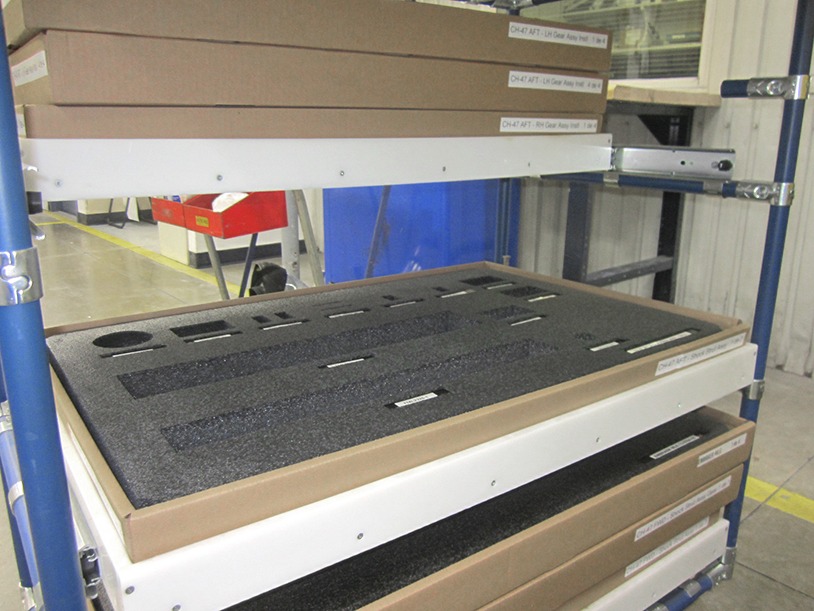
You can also make your shadow boards out of foam if, for example, you need to store or handle fragile parts a production line. You’ll notice that most of these shadow boards are placed on a wheel-mounted cart or rack.
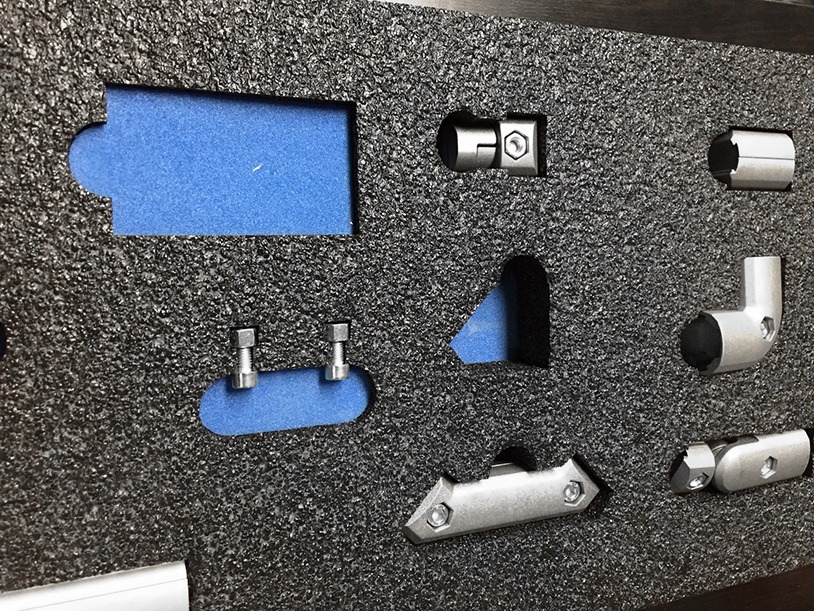
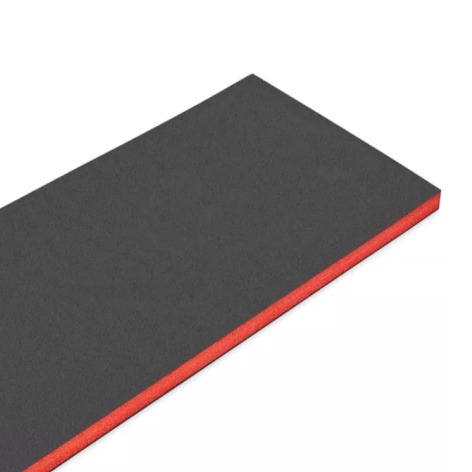
If you decide to build a foam shadow board, there are several grades of foam from which to choose. On the other hand, the more the foam is porous, the more difficult it will be to cut, as Ethafoam for example. There are greater risks of it disintegrating where the knife penetrated it, consequently shortening its life span.
Type-A foam panels, such as Crosslink, are of better quality thanks to their high density. This type of foam will protect fragile parts more effectively.
You can also use materials you already have on hand in your plant to build your shadow board. Some of our customers used MDF panels, whereas others decided on steel panels. A little creativity mixed with a desire to reuse existing materials can give pretty impressive results!
Tip: Regardless of the type of material you choose for the shadow board, we suggest dividing it into sections. It will be much easier to alter only a portion of the entire board, instead of the whole thing, should you have to move tools around.
improve your productivity with kaizen foam
The Perfect Solution for Your Shadow Boards.

Regular maintenance involves weekly 5S audits to ensure tools are returned and outlines remain visible. Worn outlines or labels should be replaced immediately. Many companies add a checklist or QR audit system next to the board to track tool usage and condition.
Yes. Flexpipe systems are modular by design, meaning shadow boards can be mounted on casters or pipe frames for mobility. This allows teams to move tools between workstations, making them ideal for Lean cells and changeover zones.
Color coding helps identify tool types or ownership. For example:
Following consistent color standards across your facility improves visual control and prevents tool mix-ups.
Yes, but materials matter. In cleanrooms, labs, or food processing plants, use stainless steel, HDPE, or antimicrobial PVC panels instead of standard foam. Avoid porous materials and ensure boards are easy to sanitize and resistant to moisture.
Modern shadow boards can include barcode or RFID tags for each tool. Linking them to a digital asset management system allows for real-time tracking, automatic audit logs, and alerts when tools go missing — ideal for Industry 4.0 environments.
The most frequent mistakes include:
To avoid these, start with a pilot area, involve operators in the design, and update layouts every 6–12 months based on workflow feedback.